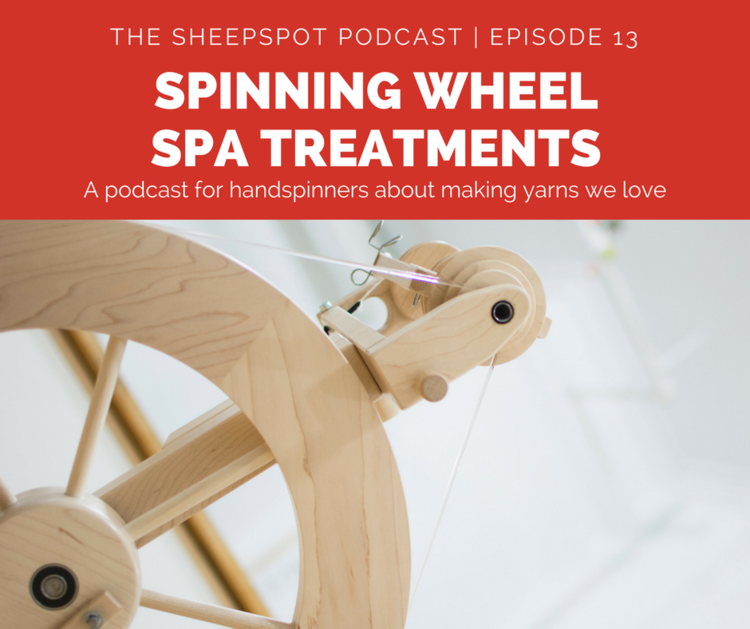
The Sheepspot Podcast is a great way to feed your learning about spinning and to receive weekly shots of inspiration. I’ve been a fan of Sasha Torres since her SpinDoctor podcast days (2010-14). Then she started Sheepspot, and in December 2017 she launched a new podcast about handspinning: The Sheepspot Podcast. It’s a weekly and it’s only about 30 minutes long.
I’ve been following along but somehow never blogged about it. In episode 13, Sasha talked us through spinning wheel maintenance issues and recommended we do a “spa treatment” for our wheels. At that point, I realized I’d owned my wheel for 10 years and never done any maintenance beyond dusting it. It took me through May to gather supplies and finish all the steps, but I did it – and my wheel spins better for it. (I realize that I got away with this for so long because my Ladybug was brand new in 2008 and the ball bearings are sealed, but it still benefitted from some TLC.) In the process, I replaced the drive band, replaced one of the front feet (which was missing – I didn’t even know this until I turned the wheel upside down to clean underneath, which Sasha encouraged), and cleaned every wood surface with Wood Beams. Wood Beams is a beeswax-based product that is “good food for wood” and is even safe for food surfaces like wooden bowls. I rubbed it in and rubbed it off. I loved the result (and the process – it smells great) so much that I also rubbed down my 4 wood bobbins. I bought it at the Bosworth booth at MDSW18.
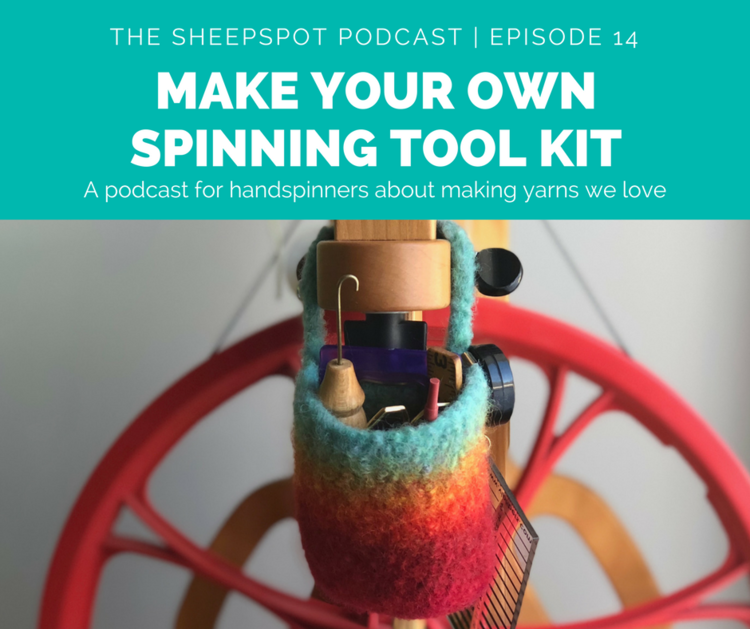
Sasha made another great suggestion in episode 14:
See that cute little belted bag hanging off the front of her wheel? (free pattern) I finally decided that it was time for me to have one. I have been using the cup holder for these little tools and things, but recently I’ve learned that my cup holder is perfect for holding a battery-operated light that really helps in the dim corner where my wheel lives. Here is the light setup:
After much musing, I decided to dig into my stash of handspun to select yarn to use for the bag. In pawing through the baskets that contain my handspun stash, I realized (again) that my spinning has improved A LOT over the years, and that I was unlikely to want to knit with some of these older yarns. But felting with them would be perfect, as the visual imperfections in spinning would be completely erased by the felting process.
I chose this skein of 2-ply Polwarth. I bought the fiber at MDSW10 and spun the singles on a spindle while on vacation that summer. My drafting is not as even on a spindle, and there is a lot of variation in the twist. There are some big fluffy sections, and some that are wound too tight. The resulting knit fabric is especially pebbly – here’s a closeup:
Felting is so fun, though! Here are before-and-after pictures of the bag, with a knitting gauge for scale.
I used size 10.5 US (6.5mm) dpns on this, which left huge ladders at the joins – but I knew it wouldn’t matter after felting.
And here is the wheel kitted out with the bag:
I still have my orifice hook hanging down (as before), along with a large paper clip on a bit of yarn. I clip my notes and samples (which are on a little card) to the clip for easy reference while working:
And finally, here is what is tucked into the bag at present:
This was a quick, gratifying, useful little project!


No comments:
Post a Comment